INTERACTING WITH THE REAL AUTOPILOT
This activity goes one step further than the previous one, in this case we will connect to the drone’s autopilot to extract some telemetry information but in a real way, not in a simulation (SITL).
As the same as before, the code is running in our machine, and we are connected to the autopilot to extract the data via USB cable.
TIP: THIS METHOD IS ONLY USEFUL WHEN THE DRONE IS DISARMED. TO EXTRACT DATA WHEN THE DRONE IS FLYING, WE WILL USE AN ONBOARD COMPUTER IN FUTURE ACTIVITIES
AUTOPILOT INFORMATION
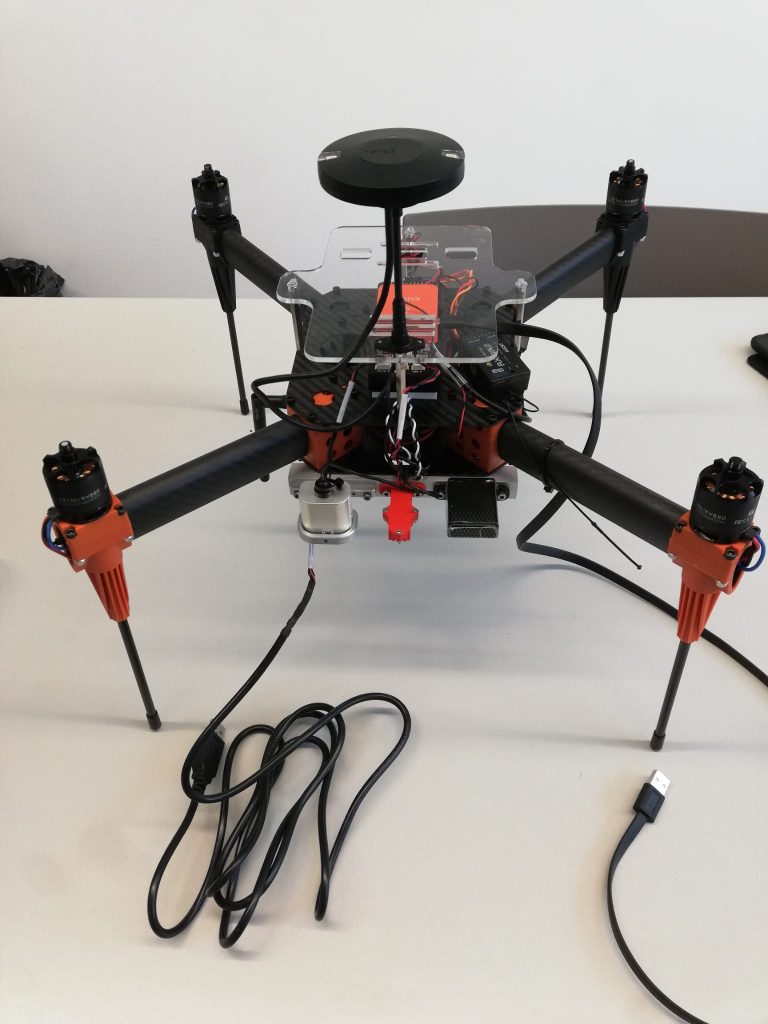
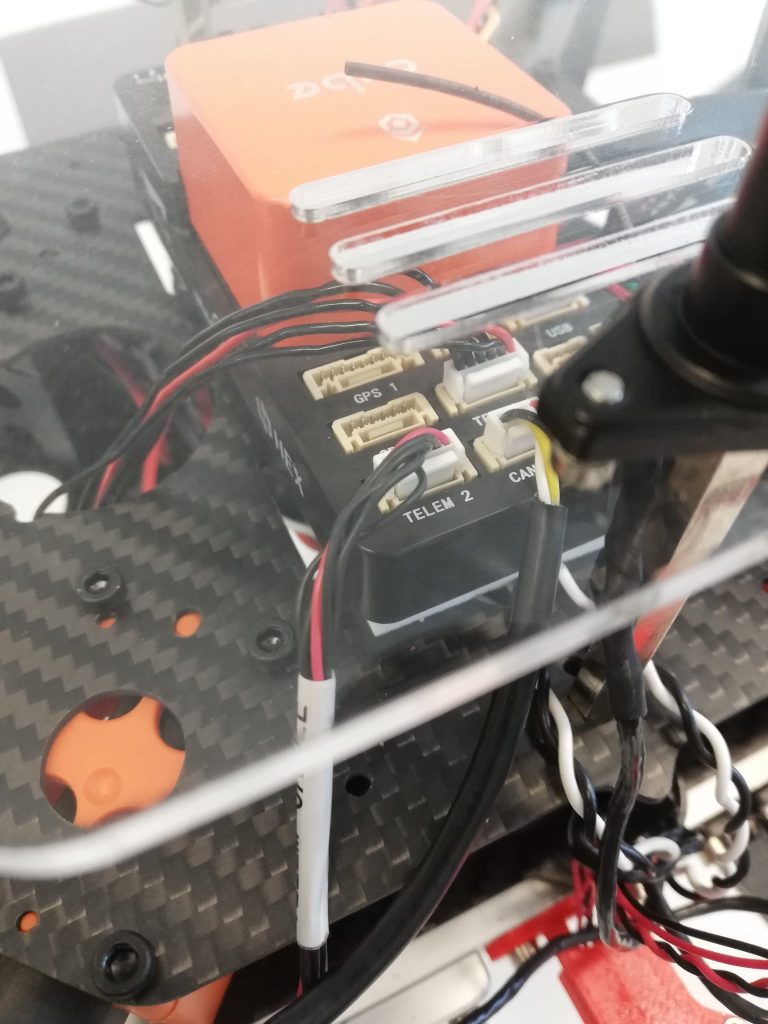
As we know, the autopilot is composed by two parts, the orange cube and the distribution board. The most important connections of this board are the following:
- USB: SERIAL0
- TELEM1 (telemetry radio): SERIAL1
- TELEM 2: SERIAL2
- GPS: SERIAL3
- ADS-B: SERIAL5
The autopilot uses the MAVLink protocol to exchange the information with the connected devices. Through the SERIAL1 and SERIAL2 we can stablish a connection between a ground station by using a telemetry radio.
ACTIVITY
The fist step is connect to the computer (via USB) to the TELEM2 (SERIAL2) port as shown in the figure 1. By using this cable, our Python program will interact with the drone autopilot to extract some telemetry information. The library used is Dronekit.
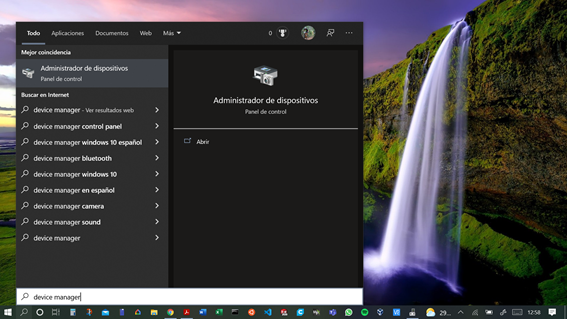
Once the computer and the drone are connected, we should identify in the computer the COM where the autopilot is connected. To do so go to ‘Administrador de dispositivos’ or ‘Device Manager’, see figure 3:
Then go to ‘Ports (COM and LYT)’ and check the corresponding COM, see figure 4:

Now, in the Mission Planner we sould configure SERIAL2_BAUD to 115. This will be the speed for the connection. Go to ‘CONFIG’ – ‘Full parameters list’ and search SERIAL2_BAUD, do not forget to write the params, see figure 5:

At the moment the TELEM2 port is configured, we should reboot the autopilot, go to ‘DATA’ – ‘Actions’ – ‘Preflight_Reboot’.
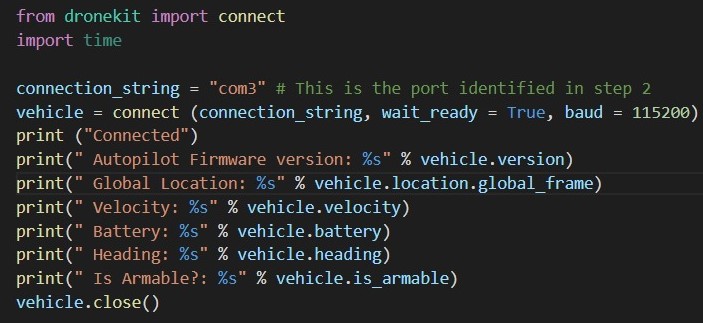
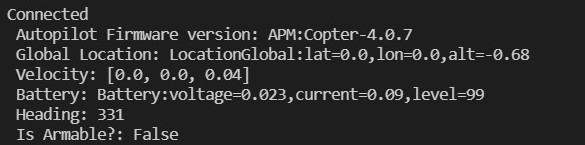
Finally we must run the code in our machine:
TIP: BEFORE RUN THE CODE, WRITE IN THE TERMINAL ‘pip install pyserial’ TO DOWNLOAD THE PYTHON LIBRARY
TIP: IF YOU HAVE SOME RUNTIME ERRORS DUE TO ADS-B PACKETS RECEPTION, YOU MUST DISABLE SERIAL5. GO TO ‘CONFIG’ – ‘Full parameters list’ – SERIAL5_PROTOCOL AND SELECT -1. FINALLY WRITE PARAMETERS AND REBOOT THE AUTOPILOT
OPEN QUESTION
We need one more connection between the autopilot and the computer, because is not possible to extract telemetry information from the autopilot connected to the SERIAL0 or SERIAL1 and using a Python program.