In this post we will talk about how we put together the frame of the drone. From our own experience, although the task looks pretty straightforward, we recommend you to be very careful during the assembly and pay close attention to the different steps, you will understand why in just a moment…
What you will need
- The frame itself, which in our case came together in a box.
- 4x motor mountset
- 4x arm mount set
- 4x arms
- 1x landing gear set
- 2x centerplates (top + bottom)

- Four motors.
- Four ESCs.

- Some extension cables (depending on your preferences).
- Some basic tools for the assembly (screwdriver, .
Mounting the frame.
We will start by putting together the motors with the motor mountsets.
| TIP: take into account that there are two orange and two black motor mountsets. For each color you will have to mount one clockwise and one counterclockwise spinning motor. |

Next, you will have to assembly three parts: the motor with its mountset, one landing gear set (same color as the motor mountset), and one of the arms.

| TIP: when assembling these parts, make sure the cables of the motor are facing the outside of the structure, this will make later connections easier. |

We recommend you to follow our tips, specially the first one. Unfortuately, we found out our motors were not in the correct orientation on the first test flight, which you can see on the following video.
Two things are wrong here:
- Firstly, the landing gear set colors are mixed. Orange sets should mark the forward part of the drone, while black sets should be at the back.
- Secondly, the orientation of the motors between them is correct. However, the two motors that should be spinning in clockwise orientation are spinning counterclockwise and viceversa. The result is the constant yaw you can observe in the video.
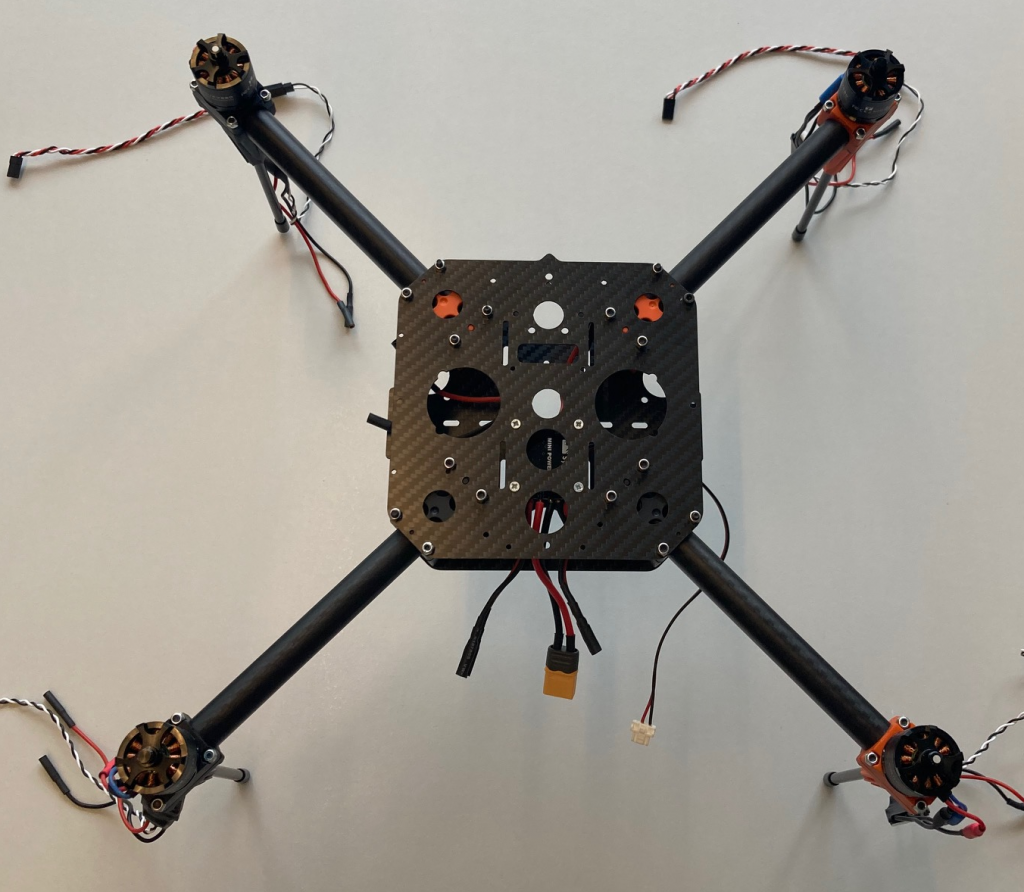
At this point, we can now proceed to the mountage of the centerplates.
You should mount the arm mountsets on the bottom plate. Make sure you use the two orange mountsets for the forward part of the drone, which is indicated with an arrow on the centerplates.

At first, it is not necessary to tighten excessively the armsets with the plates, since the next step is to fit the structure with the motor, arm and landing gear with the armset.
Next, install the power board over the bottom plate. The only important thing you have to keep in mind is to make sure the power input wires are accessible through the rear part of the drone.
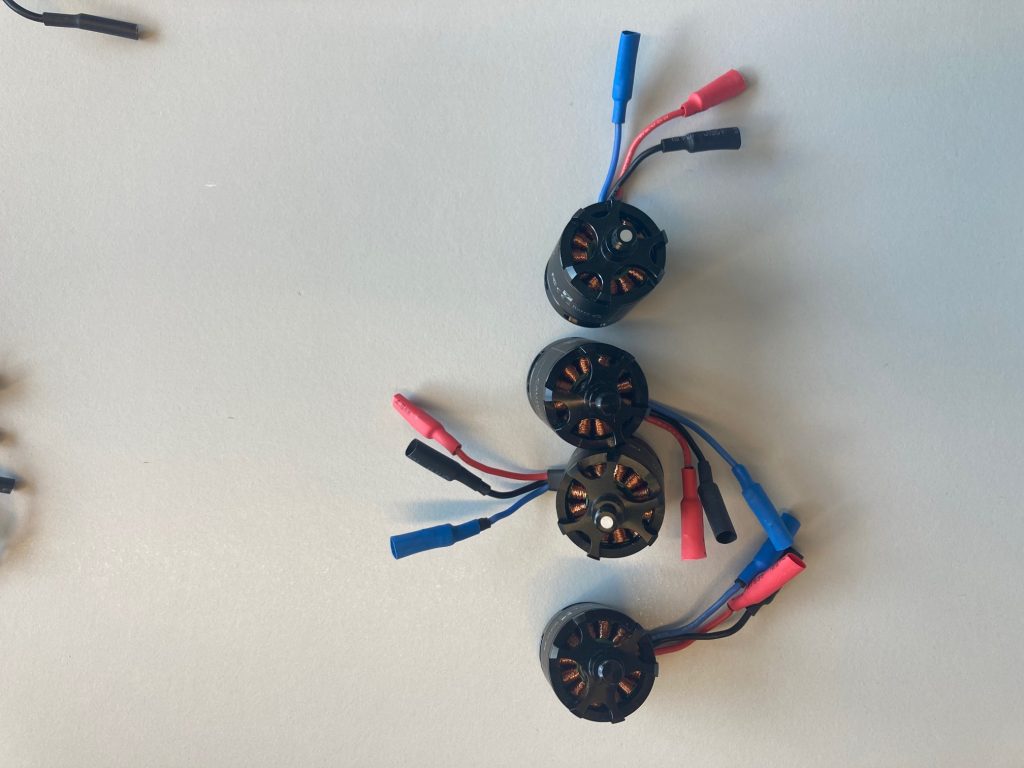
Prior to fitting the four arms with the main frame, it is time to connect the ESCs with the motors. They have 3 cables: one red (power) one blue (signal) and one black (ground), which should be connected with the ‘A’, ‘B’ and ‘C’ cables of the ESC respectively (labelled on a white sticker).

If you need further information on how to connect the ESCs and the motors, the following link has some useful information: Connect ESCs and Motors — Copter documentation (ardupilot.org)
Now, you should pass the ESCs trough the arms of the quadrotor, this way they stay hidden and well protected.
It is possible to add an extensor for the PWM cable of the ESC, in order to make the connection with the power board easier. However, we found out that the two ESCs closer to the power board can be connected easily without the extensors, allowing for some valuable free space inside the frame.
And that’s it! While this is still not the final version of the drone structure, it is a great step towards having your ready to fly version. On top of that, you might have improved your assembly skills, which can always be useful!
0 Comments