In this section we will show how to recreate a terrain with a set of images using photogrammetry.
The software that is going to be used for the process is Global Mapper. Although is not the most specialized application for photogrammetry, it is a very versatile tool that allows you to do almost everything related to terrain mapping. It is highly compatible with the files generated by MissionPlanner and allows us to plot and compare the planned trajectories vs the actual flightpath trajectories once the flight is completed in kmz extension files.
In order to get started with the photogrammetry processing, we need a set of images. In this case, a free example from the internet was downloaded (if you want to follow the example it can be downloaded at: https://dronemapper.com/sample_data/).
Once we have the set of images ready, we have to open GlobalMapper and load this set of images. To do this we have to click on the icon that has a drone symbol:
Once we click on that button, a new window will appear. Clicking on Add File(s) we are able to upload all the set of images that we want to use for the terrain reconstruction. Once added, we can obtain important information about the position of the images that are being used.
Below the information related to the image we have some option related to the process. The most important to take into account are the save path of the generated files, the selection of Mesh output in case of needing to obtain a 3d item, and the most important one, “Reduce Image size” depending on the PC specifications. If there is no reduction added to this, the PC could crash in the middle of the processing or could take days.
In my case, the program automatically detected that it was not possible to process with a factor of 1:1 and automatically assigned a 3.1 reduction factor.
Once these settings are changed, we can press Run, and wait for the process to finish.
This can take several hours. In my case, as I had applied a reduction factor of 3.1 and the size of the images was not very high, it took around 1 hour.
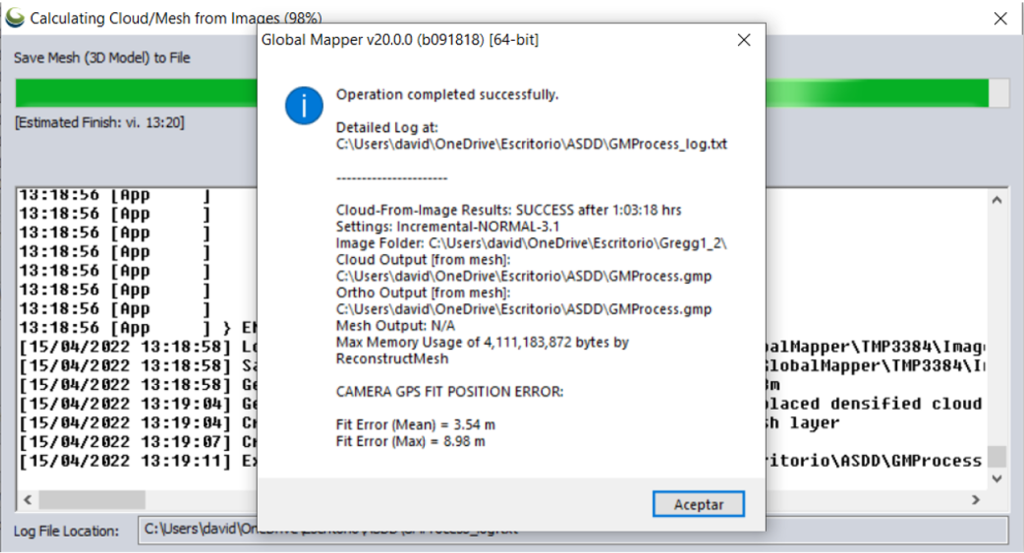
After the process is done, the following window will pop up with information about the errors obtained.
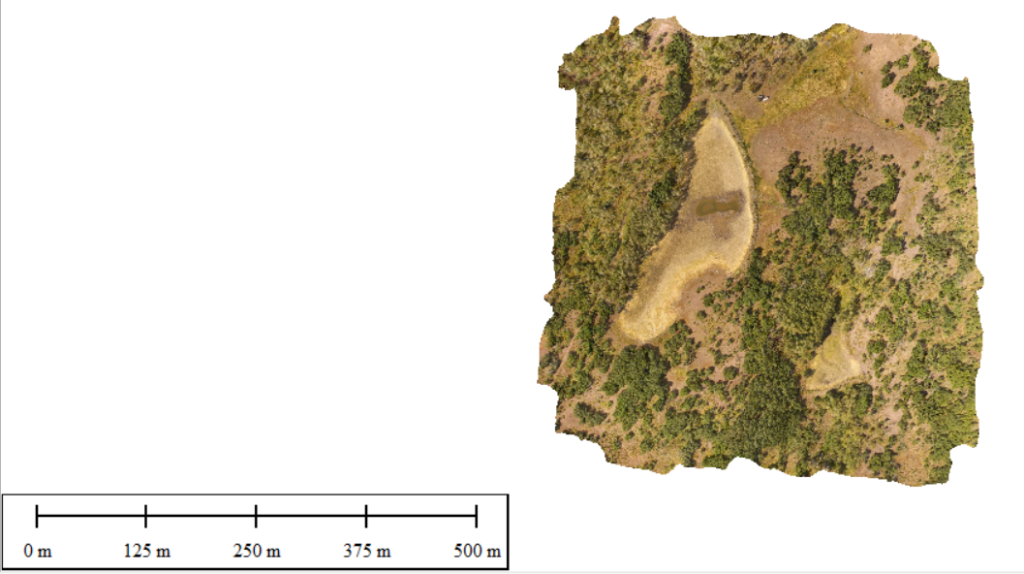
The result is shown in the main screen of Global Mapper now:
To export the orthophoto of the final project we have to go to “File> Export > Export Raster / Image Format…” and it will allow us to save it in the format we desire.
Some other features that we can check of our final project result are the mesh points and the 3D model:
Considering this example was created using a low-end PC, if we zoom in too deep we will see a lot of spaces between the points. (5.634.993 points)
If we start to zoom out with only the mesh activated, we can already see more consistent results
We can also check the 3D model by clicking on the “3D icon” in the toolbar and we can see the result. Again, within the limits of the target terrain, especially in the borders, we will appreciate a lower density of points leading to blank spaces of terrain in between the terrain.
Using OpenCV, few hsv launchpad values were taken to be processed and identified by the algorithm. Before starting, it is important to resize the images to get some comfortable sizes to work with. The original Read more…
As mentioned in Activity 11, another option for controlling unmanned aircraft is dynamic flight planning. In general, in the drone platform, we use a Raspberry py as an onboard computer. The programs for our onboard Read more…


0 Comments