
Last but not least, this is the final step before the flight test.Here, we are going to explain the final set up of the platform in order to test the motors and try, without propellers, that everything is working fine.
In order to complete the set up, we followed another video with all the configurations:
Now, we are going to explain all the steps we did:
- ESC calibration. To do this, you have two options: follow the steps that the Mission Planner gives you or follow the instructions of the video. In our case, we followed the instructions of the video. This calibration was the mos difficult one because we did the configuration of the parameters (activity #5) wrong, so, we detect that the ESC we not well calibrated. After doing the configuration of the parameters as we explain and save them, the ESC were well calibrated.
- Configure the safeFile. This is an option in the case the Drone has not battery, it was configurated to RTL mode, that means Return To Launch.
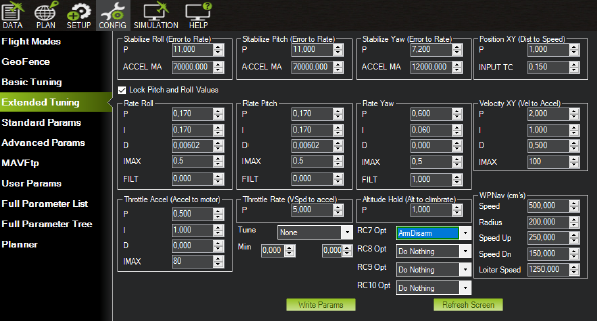
- Configuration of the arms/disarm operation. We saw in activity #3 that we had configurated the Chanell 7 assiciated to the SF switch for this operation. So once it is configurated in our model and sent to the radio, in the mission planner we have to select this configuration:
Before the next step, it is really important to change the NET ID of the telemetry radios in order to avoid interferences with other groups. In our case we change the number 25 to 5. It can be done connecting one by one the devices via USB to the mission planner, and in the SET UP –> OPTIONAL HARDWARE –> SIK RADIO menu, change the Net ID.
- Test the motors. Go to SET UP –> OPTIONAL HARDWARE –> MOTOR TEST. There you can tests the motors one by one. It is important to pay attention to the rotation of the motors and that they rotate in the correct direction, as we have seen in the previous pictures. In our case, the motor test did not work because the needed to change one parameter. This was the FS_THR_VALUE from the FULL PARAMETERS LIST. We changed the value 975 to 960 in order to reduce the maximums values of spinning. After saving this new value, the motor tests worked well. Note that if during the test one of the motors rotates in the wrong direction, just change the polarity of it.
- Configure battery monitor in order to see the battery level in the Mission Planner display.
- Load the default parameters for our frame. In our case is a Hexsoon, so go to CONF –> FULL PARAMETERS TREE –> search HEXSOON-edu-450 and save it.
Now, we are ready to fly!