
Now, its time for the brain of the Drone, the Autopilot. In our case, the one used is the Pixhawk Orange Cube. It is capable of generating the set of PWM signals necessary to perform basic flight operations (take off, land, move forward, move left/right or rotate) related with the movements associated in each Channel, seen in Activity #3. It is connected to the radio receiver in order to send to the autopilot the orders from the radio station. Also, the autopilot is able to control the Drone depending in the flight mode that has been chosen. In this project we will use 4, but in this first phase 1, we are going to use only 3. With the radio, we can select these 3 modes using the switches SA and SB associated with channel 5, seen in Activity #3 . These flight modes are:
- Stabilize: Stabilizes in pitch and roll, but the altitude has to be controlled by the operator.
- Alt Hold: Stabilizes in altitude (and also in pitch and roll) using the internal barometer.
- Loiter: Stabilizes in altitude (and also in pitch and roll), but using GPS, so you have to fly in sites with GPS coverage.
The last flight mode will be the Autonomous mode, but now we are not going to use it.
As we have mentioned before, the configuration of this 5 channels has been done in Activity #3, so it is already in our radio.
In order to do this activity, we follow the next video that explains how to configurate the autopilot correctly:
So, now we are going to resum in a list the differents steps done:
- Connect the radio receiver into the RCIN input of the autopilot.
- Connect the GPS module into the CAN 1 input of the autopilot.
- Connect the Buzzer into the USB input of the autopilot.
- Install the mission planner in a laptop. It will be the ground station.
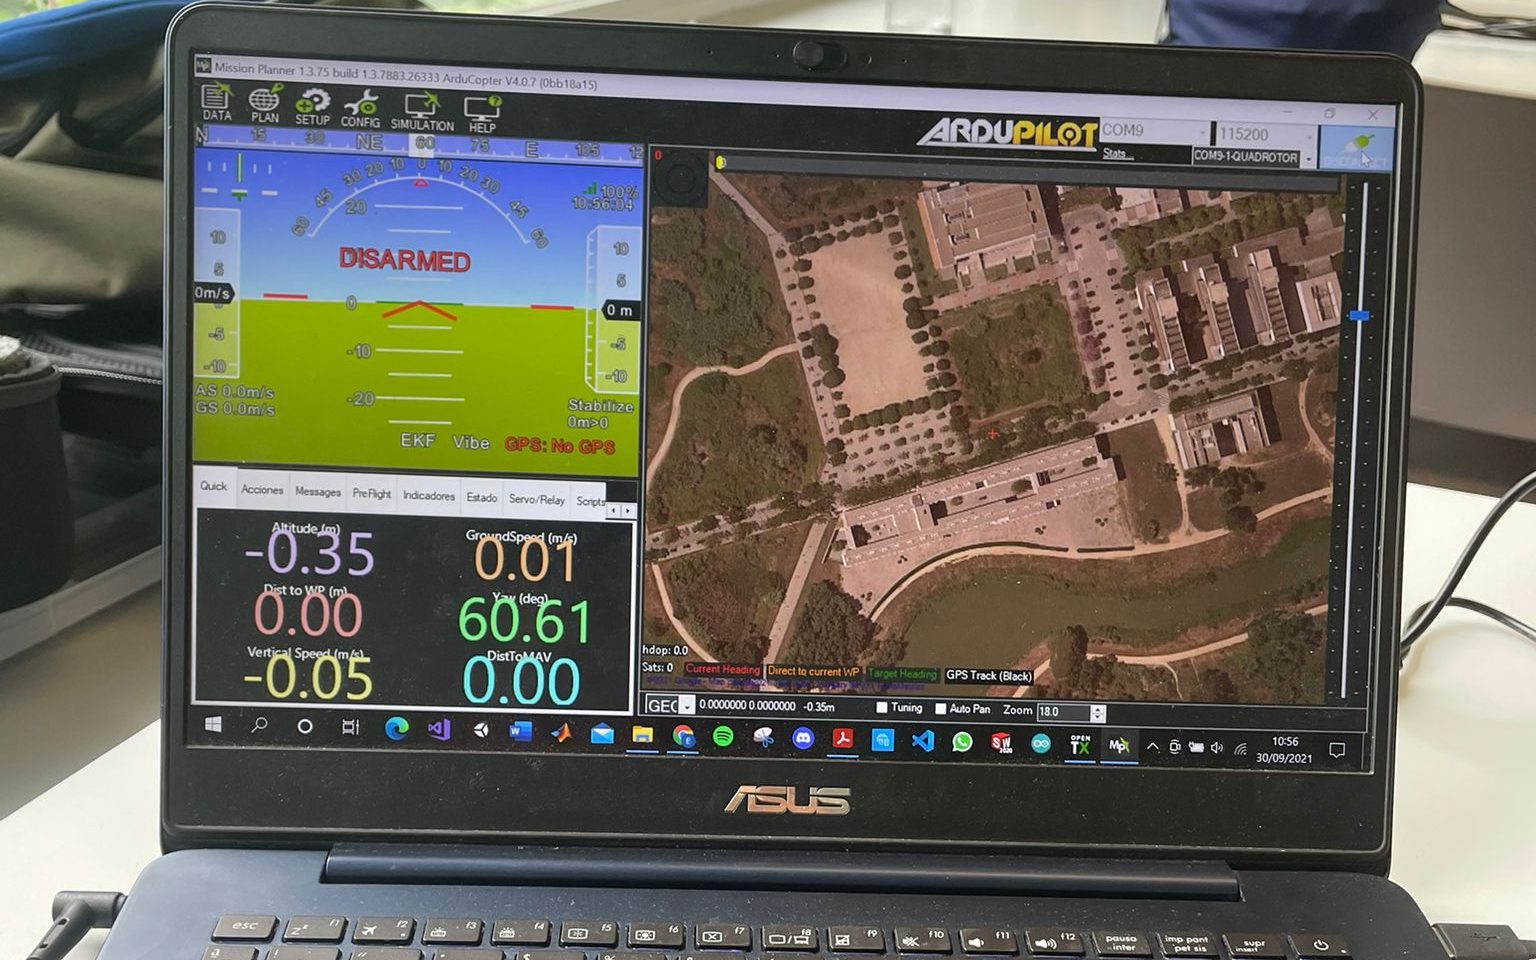
- Connect the autopilot in the laptop, connect it with the mission planner, and install the quadcopter firmware from mission planner.
- Configure some parameters:
- CONFIG –> FULL PARAMETER LIST –> CAN_P1_DRIVER (set to 1)
- CONFIG –> FULL PARAMETER LIST –> GPS_TYPE (set to 9)
- CONFIG –> FULL PARAMETER LIST –> NTF_LED_TYPES (set to 231, UAVCAN selected)
- CONFIG –> FULL PARAMETER LIST –> BRD_SAFETYENABLE (set to 0)
It is really important to write the parameters and save them, if it is not done, the parameters don not change and you won’t be able to calibrate correctly.
- Reboot: DATA -> Actions -> PREFLIGHT REBOOT_SHOOT
- Hook the GPS at the top of the orange cube in order to prepare the calibrations.
- Calibrate the accelerometer, Compass GPS and the radio: SET UP –> MANDATORY HARDWARE –> select each
- Configurate the flight modes (Stabilizer, Alt Hold and Loiter): SET UP –> MANDATORY HARDWARE –> FLIGHT MODES
To do the calibrations, just follow the video or the steps that the mission planner give you. Maybe the most difficult one is the Compass GPS calibrations. To do it, is important to move the autopilot in al the direction until the progress bar is completed. We will see this calibration in a video in Activity #8.
At this point, the autopilot is ready and calibrated. It does not mean that this is the only calibration, it hardly recommended to do this calibrations before every flight in order to insure that everything is well configurated. Is better wasting 5 minuts calibrating everything before the flight than crashing the Drone.